Smoke and CO Alarms
Two simple ways to protect your home and family.
Smoke and Carbon Monoxide Alarms – 2 Easy Ways to Protect Your Home and Family
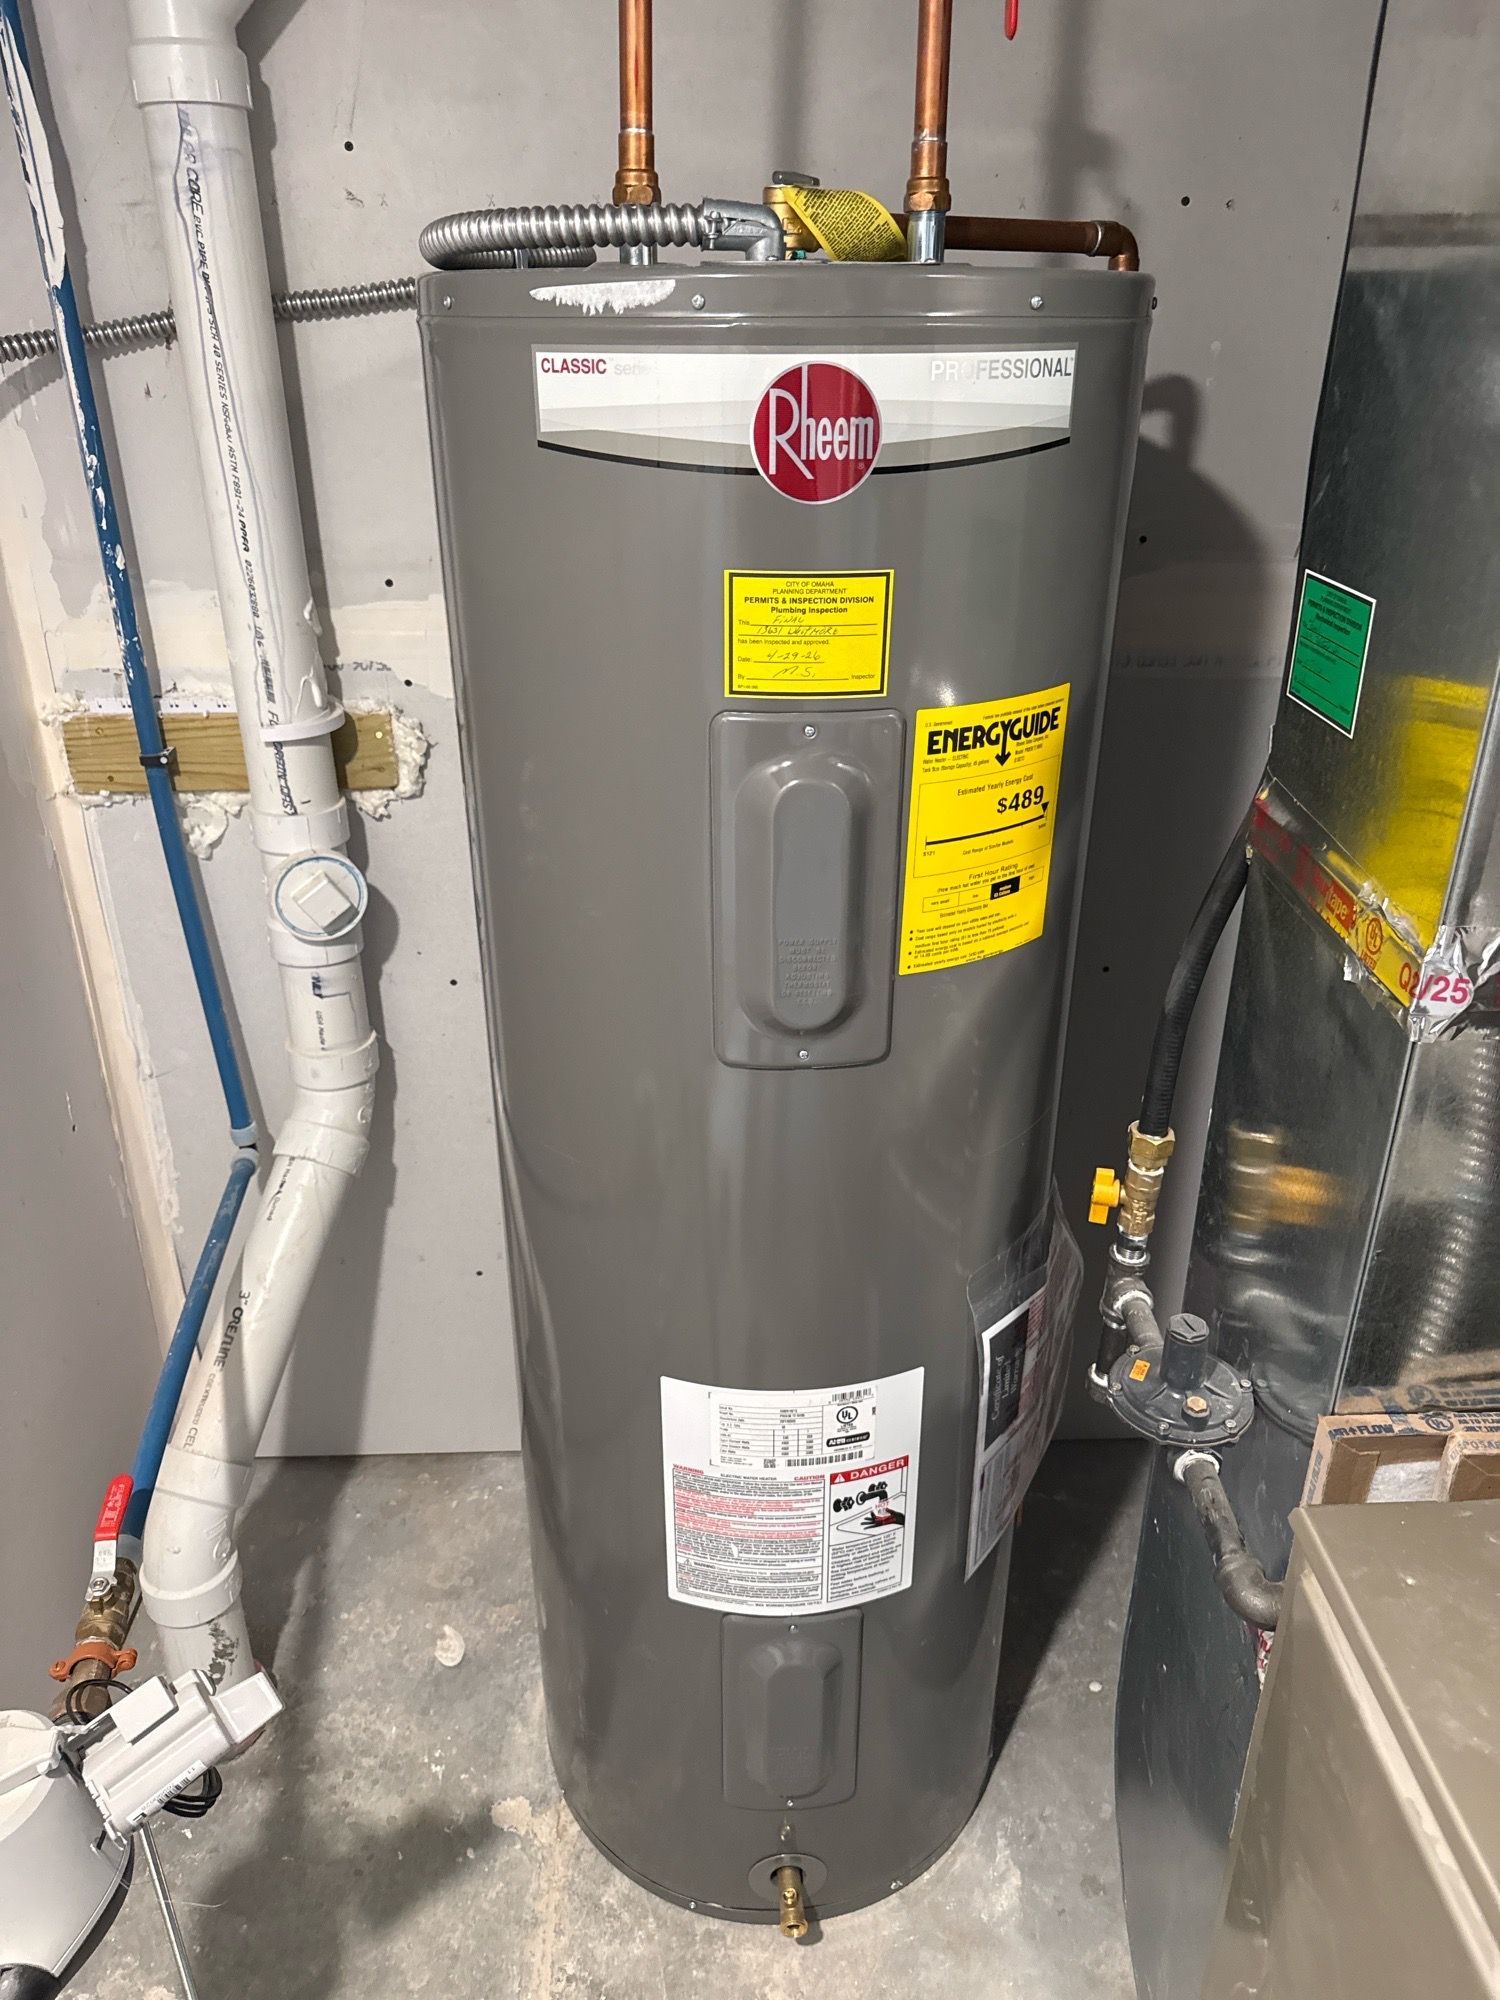
One of the most common defects I encounter during a home inspection is the absence or inoperable condition of smoke and carbon monoxide alarms. These life-saving devices are designed to alert you to the presence of smoke or dangerous levels of carbon monoxide (CO) in the air, giving you and your family time to evacuate safely and, if necessary, alert emergency services. Today’s standards and available options for smoke and CO alarms in the home are relatively straightforward and economical, so protecting your home and family has never been easier. In this blog, we’ll review each type of device and its requirements.
Smoke Alarms and Detectors
Smoke alarms are especially crucial in preventing fire-related deaths and injuries. According to the National Fire Protection Association (NFPA), roughly three out of five home fire deaths occur in homes with no smoke alarms or non-functioning smoke alarms. This statistic is a grim reminder of the importance of having working smoke alarms in your home.
You should be aware that there is a difference between a smoke “alarm” and a smoke “detector”. A detector is a sensor that monitors for smoke and is connected to a fire alarm system. A smoke alarm has both a sensor AND a sound-emitting speaker that notifies the home occupants of the presence of smoke. Smoke alarms are the most common devices found in homes.
There are also different types of smoke alarms that are designed to respond to different types of fires. An “ionization” smoke alarm is generally more responsive to flaming fires, whereas a “photoelectric” smoke alarm is more responsive to smoking, smoldering fires. A dual-sensor alarm with both types of sensors offers the best protection and is generally recommended.
Today's standards for smoke alarms require at least one device per bedroom and one device on each floor. This includes basements and attics but excludes crawl spaces and unfinished storage areas. Smoke alarms should be installed in accordance with the manufacturer's instructions and should be placed on the ceiling or high on the wall (within 12” of the ceiling), as smoke rises.
Smoke alarms should be tested every 2 months to confirm that they are functional. They are powered either by batteries (replaceable or 10-year) or hardwired with battery backup. Replaceable batteries should be replaced at least annually.
According to the NFPA, when present, hardwired smoke alarms operated in 94 percent of the fires considered large enough to trigger a smoke alarm. Battery-powered alarms operated 82 percent of the time. Power source issues were the most common factors when smoke alarms failed to operate.
Smoke alarms should be replaced based on the date of manufacture on the back label – generally every 10- years.
Carbon Monoxide Alarms
Carbon monoxide (CO) is a colorless and odorless gas that’s produced when fossil fuel is incompletely burned because of insufficient oxygen. In a home, this is commonly related to space heaters, water heaters, blocked chimneys, or a running vehicle inside a garage. It’s also a by-product of wood fires, charcoal grills, and malfunctioning heating systems. When inhaled in high concentrations, CO will deplete the available oxygen in a person’s blood, leading to disorientation, and in severe cases, permanent memory impairment or death.
The Centers for Disease Control and Prevention (CDC) reports, "Every year, at least 420 people die in the U.S. from accidental CO poisoning.” The CDC also goes on to say, “More than 100,000 people in the U.S. visit the emergency department each year due to accidental CO poisoning.” https://www.cdc.gov/nceh/features/copoisoning/index.html
When selecting a CO alarm, confirm that it is UL approved and loud enough to wake you up.
According to the 2005 edition of the carbon monoxide guidelines, NFPA 720, published by the National Fire Protection Association, sections 5.1.1.1 and 5.1.1.2, all CO alarms 'shall be centrally located outside of each separate sleeping area in the immediate vicinity of the bedrooms,' and each alarm 'shall be located on the wall, ceiling or other location as specified in the installation instructions that accompany the unit.' Additionally, today’s standards require at least one alarm on each floor of the home, and in the proximity (within 20’) of any fuel-burning appliance (i.e., furnace or fireplace) and an attached garage.
The best place for a CO alarm is on a wall roughly five feet from the floor, where it can measure the air at a height that people in the house are breathing it. This ensures that any dangerous levels of carbon monoxide are detected quickly, allowing you to evacuate the area and call for professional help.
In addition, take the following measures:
• Make sure appliances are installed and operated according to the manufacturer’s instructions.
• Have the heating system, chimney, and vents inspected and serviced annually.
• Examine vents and chimneys regularly for improper connections, cracks, rust, or
stains.
• Make sure to read your CO alarm's user guide and keep it near your CO alarm
for quick reference.
Battery-operated CO alarms should have the battery replaced annually. Any CO alarm should generally be replaced every five to six years.
A combination smoke and carbon monoxide alarm is an alarm that has both sensors to sense smoke and to sense carbon monoxide. These alarms may look like smoke alarms and are mounted on the ceiling or the wall near the ceiling. Recommended replacement is every 7 years for a combination CO/smoke alarm.
A Home Maintenance Inspection is a great way to identify issues that potentially compromise the safety, longevity, and value of your home. Contact Acuity Home Inspections today to schedule!